
Here is a pretty simple layout I created in about 30 minutes. It has some cute elements and I love the color combo.

Share your creations with us in the comments!!


HI! Happy Holidays to all of you!! I am here again to share an idea I came up with for an adorable personalized gingerbread house photo gift box. I had this gift box kit with several unique shaped boxes included. I began with a box with a top that looked like this because I thought this would work the best for a adding a roof.

I put the box together and created a roof with an extra piece of cardboard.


I began adding embellishments and pictures to make it look more like a house.


The roof balances nicely on the top. I intend to use it as a piece of holiday decor. You could however fill it up and gift it to a Grandparent, Teacher, Aunt, Uncle, or Friend.
My girls were so excited to see themselves on their very own gingerbread house!
Have Fun!
Check out this feature over on Practical Scrappers!
Are you super excited to celebrate each moment of this Holiday season?
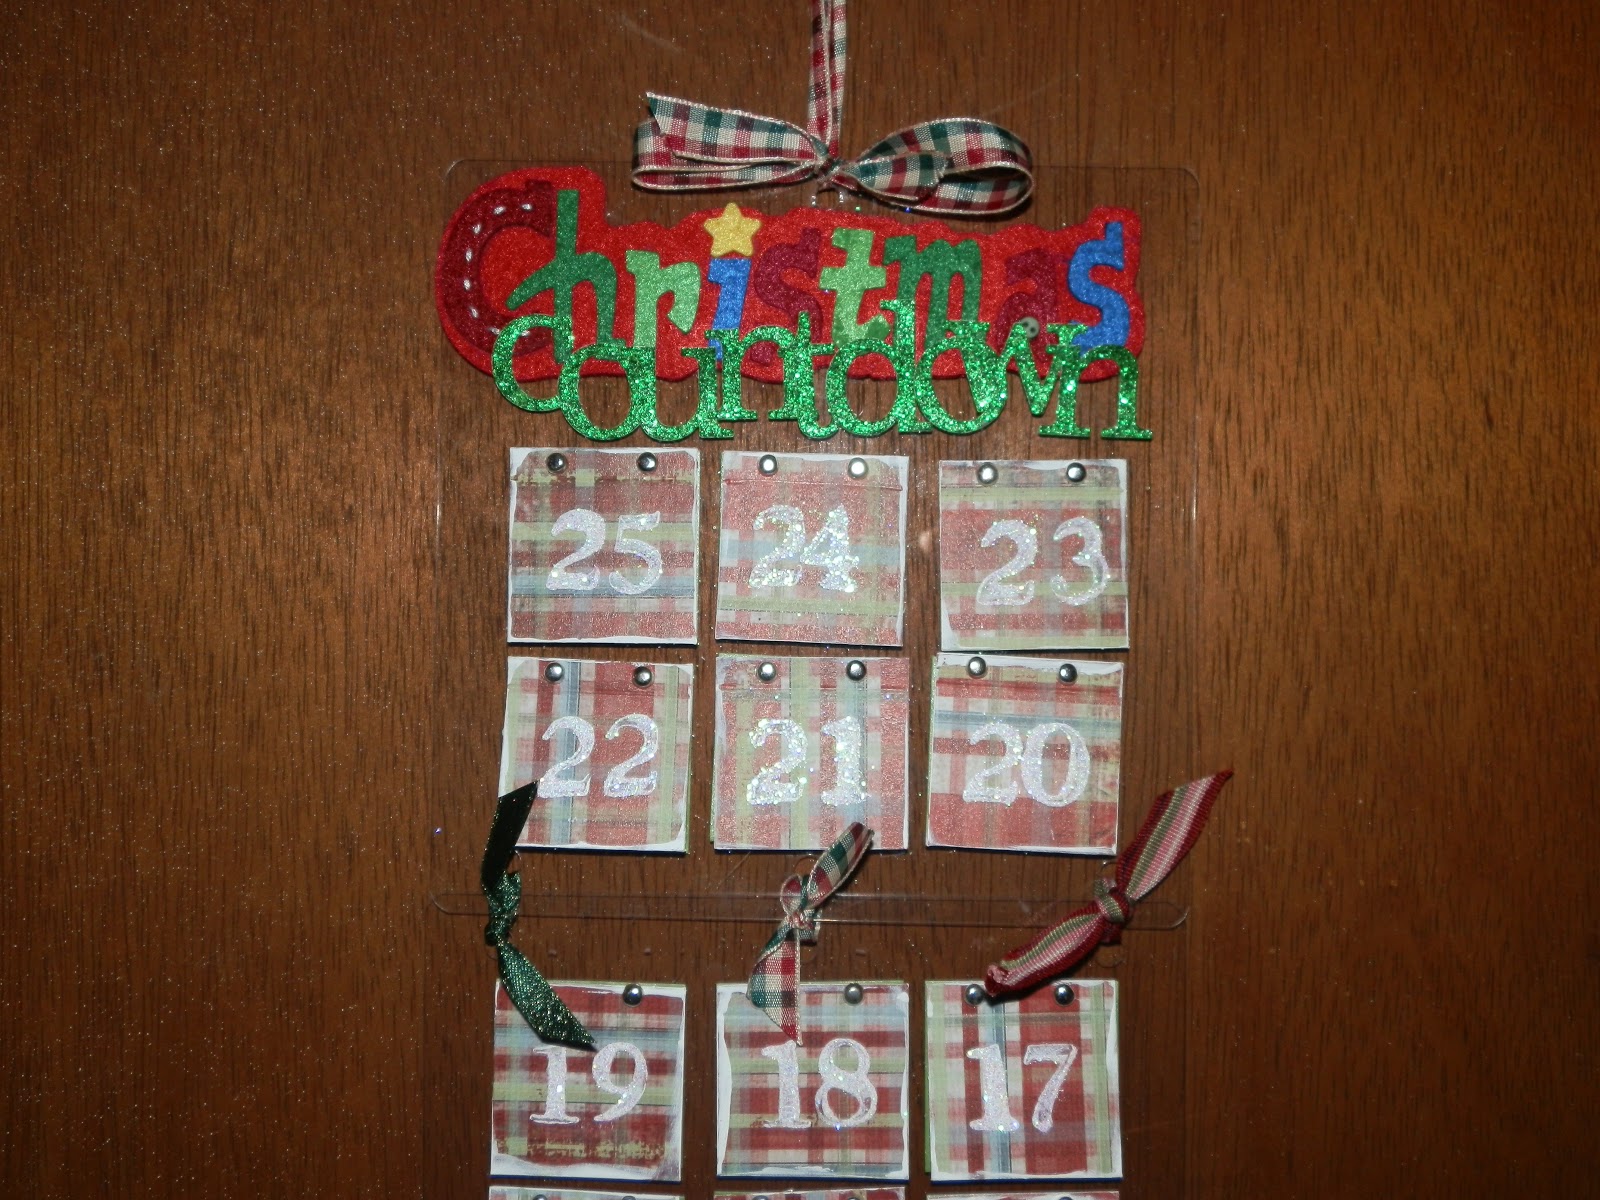
Over at Practical Scrappers today I shared this idea for creating a Christmas Countdown Calendar and I wanted to share it here too!
As a child, everyday in December, I looked forward to opening the door on our Advent calendar to see what fun representation of the holiday season would present itself! I wanted to create a calendar that my kids can open each day and that I can change out what is behind the doors for next year. This is what I came up with:

I used acrylic squares that were intended for an album and used my heavy duty Crop-A-Dile and punched holes so that I could place brads through the acrylic to hold both the front "door" and the back holiday item in place. To create the snowlike numbers I used white paint on my stamp, immediately after stamping the number, I poured iridescent glitter over it. When the paint dried, I simply shook off the excess glitter. Each door got a little "snowy" edging with white paint too.

Here are just a couple of examples of the goodies behind each door.


You can use whatever holiday embellishments you happen to have. I used a wide range of items including brads, stickers, letters, chipboard, 3-d embellies and rub-ons. Symbols of the season.

The last day on my countdown does not have a number but a gift that says "Do Not Open Until Christmas"
Hiding behind that gift is Santa and his sleigh and a message that says "Happy Birthday Jesus."

Next year, I just need to open the brads and replace the items on the back with fun, new holiday goodies!

I hope this inspires you to create a calendar to countdown this magical season!
Happy Holidays to all of our readers!
Happy November Everyone!!
I am so excited to share a new tradition I hope to carry on in our family.
We made a "Thankful Wreath" to remind us each day of this season of all of the good things we have and that we have so much to be thankful for.
I started with a straw wreath I picked up at our local Creative reuse store and I wound a brown floral ribbon around it and tied a bow.

I used my Slice machine to die cut a variety of leaves out of fall colored papers.

Next, I used rub-ons, stamps, pens and stickers to add the things we are thankful for to the leaves.

I embossed some veins on the back side of the leaves to create a little bit of texture and make them look a little more life-like.

I used straight pins to place the leaves around the wreath. Some leaves got one pin, some got two, one in each end to give them a bit of dimension.

This time of year it is so easy to get caught up in all that has to get done and all the things the little ones wish for. It is a good time to step back and remind ourselves what we have already been blessed with.

I intended to hang the wreath on the front door. I changed my mind quickly though, when I realized we would see it better and more often if I hung it in the kitchen.

Each time I look at it I am reminded that we have so much and although it does not always seem like enough, it is more than many others have.

We are truly blessed and I hope that you are too!
Happy November!
Happy Fall!
Happy Thanksgiving!

A while back I gave you a tutorial for how to create permanently curly ribbon. I wanted to share some more ways I used this great new discovery for invitations that I made for my niece's birthday parties!

Lalaloopsy was perfect for this technique!! I just love how adorable she came out!


I also used this technique for these super cute Minnie Mouse invitations


